

Accessing Physitrack
Follow the process detailed below to learn how to configure and use GPM to access the Physitrack website.
Obtain your Physitrack Account
Follow the steps below if you are not a Physitrack user yet:
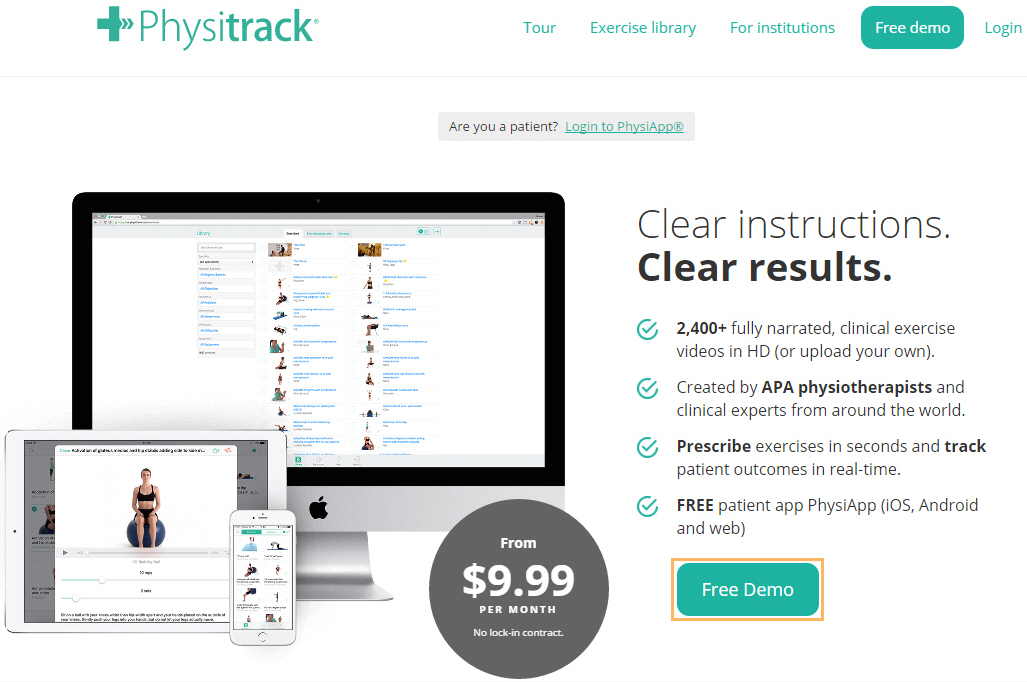
- Go to Physitrack Website and click Free Demo
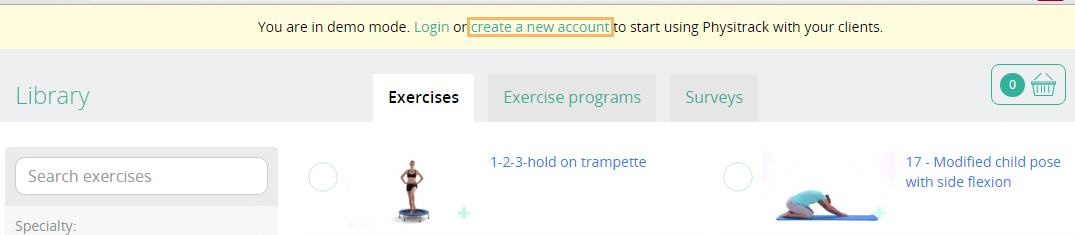
- When you are ready to subscribe, click create a new account
- Enter your details and click Create account

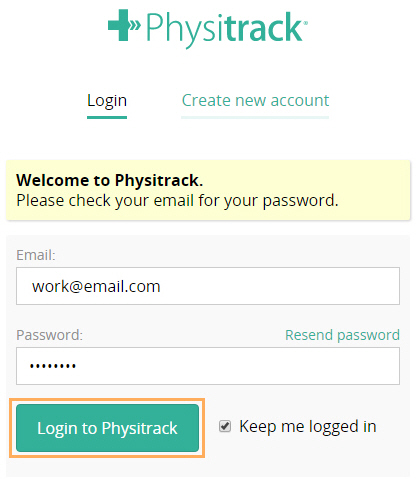
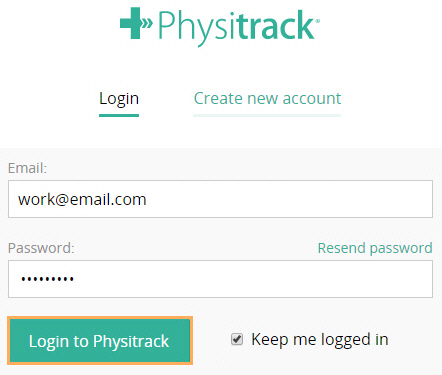
- Check your email and enter the Password provided by Physitrack
- Click Login to Physitrack
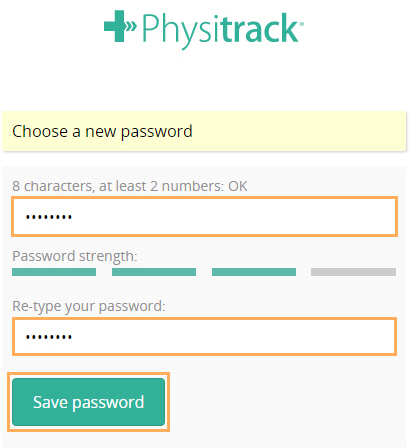
- Choose and enter your new password and click Save Password
- Select Gensolve in the affiliation field
- Enter GENSOLVE20 as the discount code and click Confirm affiliation to activate your 20% discount
Note: Once the affiliation is confirmed, the price will then be changed.
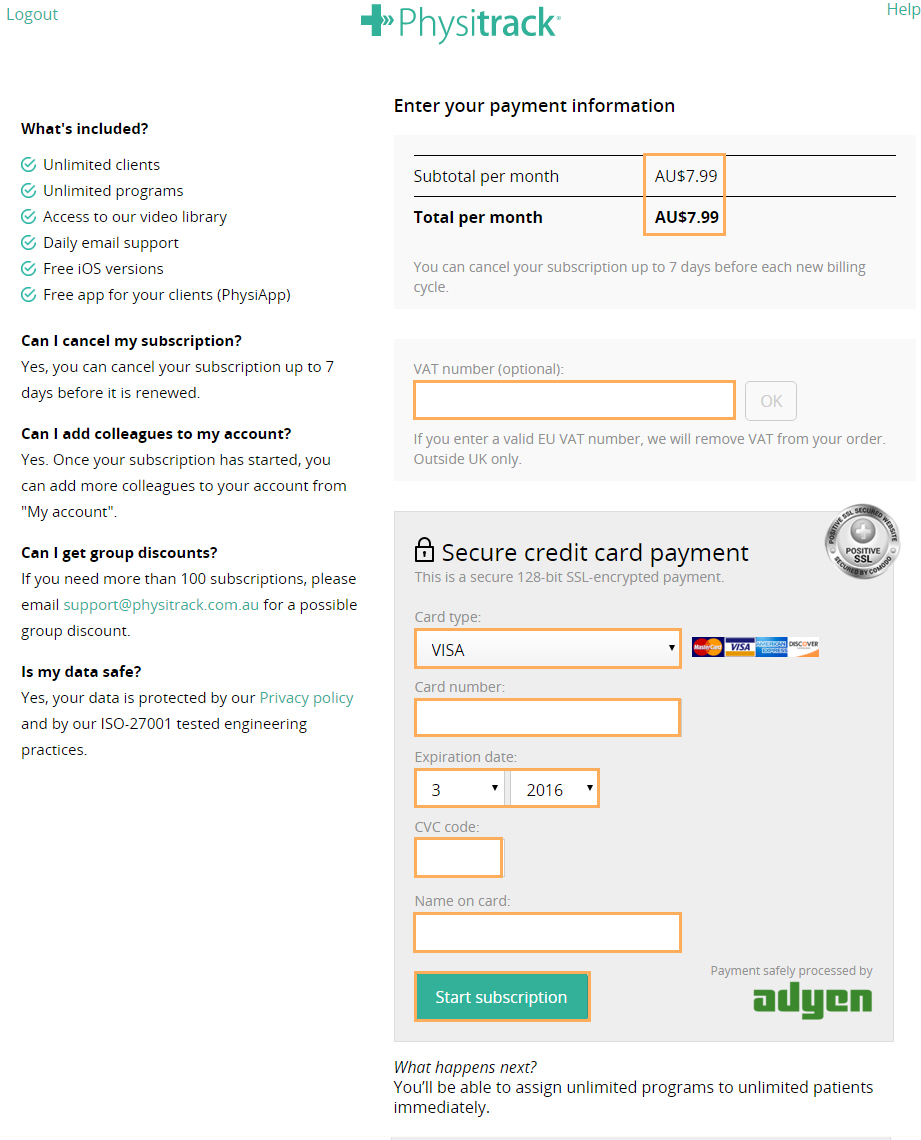
- Enter your credit card details
- Click Start subscription
Note: Learn how to use Physitrack: Quick Steps to Get Started with Physitrack
Link your Account to Gensolve
Once you have obtained your Physitrack account, you will need to enter your Gensolve API key to link your account and activate your discount:
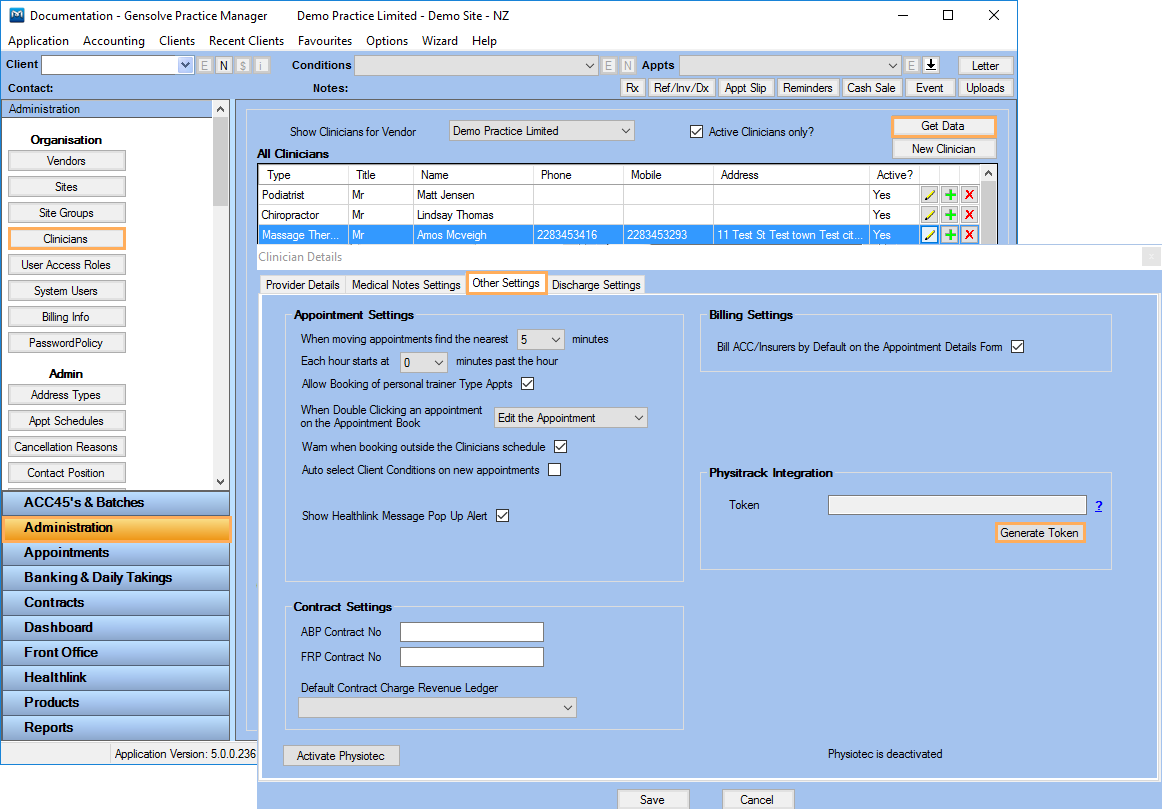
- Go to Administration >> Clinicians and click Get Data
- Click on
 to open the Clinician Details window
 - Click on Other Settings tab
- Click Generate Token
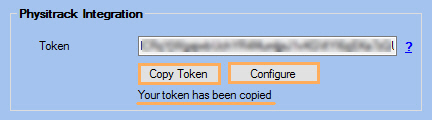
- Click Copy Token
- Click Configure to be linked to the Physitrack website
- On the Physitrack website, enter your account details and click Login to Physitrack
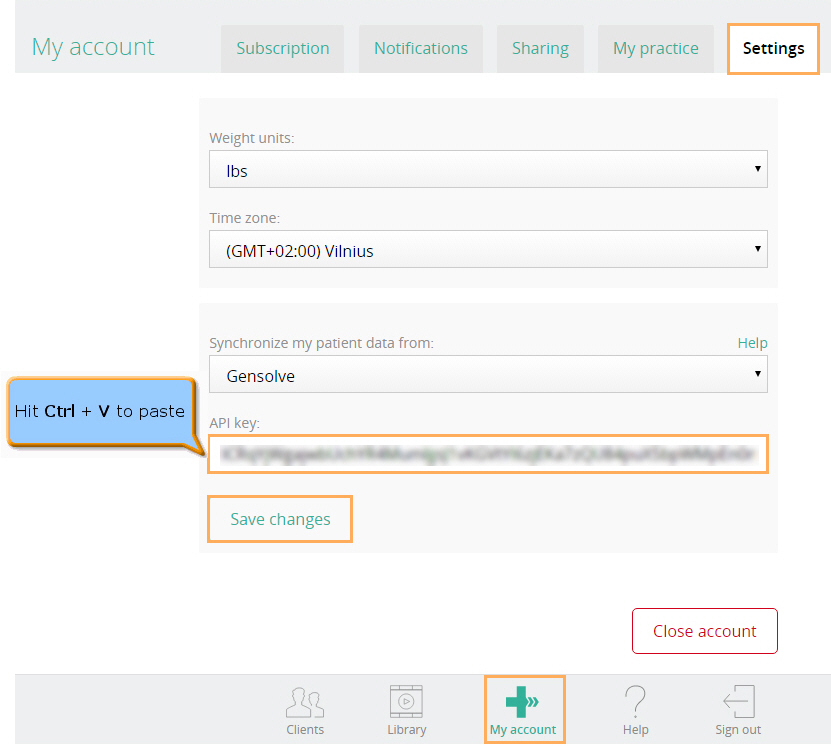
- Click on My Account
- Click on Settings tab
- Hit Ctrl+V to paste the token on the API key field
- Click Save changes
Create a New Appointment
You will need to create a new appointment with the clinician configured above.
Please note that this appointment should be associated with a condition and exam notes.
For more information see: How to Create an Appointment and Managing Conditions and Medical Notes.
Log In to GPM
The Clinician will now be able to access the Physitrack website from within GPM.
Note: Before the Clinician can log in to GPM, a system user with the necessary access roles will need to be created.
For more information see: How to Create a System User and How to Create a User Access Role.
Access Physitrack from Client Details
The Clinician will be able to access the Physitrack website from the Client Details window as follows:
- Search for the client you created the appointment for and click
on
 to open the Client Details window
 -
On the right hand side of the Client tab, click on

Note: You will not be able to access Physitrack website unless the Title, DOB and Email fields have been populated. Please note that two different clients cannot have the same email address associated, otherwise, they will be linked to the same client ID in Physitrack.
-
Once you have clicked on
, the Physitrack website
will open with the name of the client at the top of the screen.
Note: From here, you will be able to Assign New Programs to the Client, Transfer Clients, Download Clients Data and Configure Clients Settings.

Access Physitrack from Condition Details
The Clinician will be able to access the Physitrack website from the Condition Details window as follows:
- Search for the client you created the appointment for and click
on to open the Client Details window
- Click on the Conditions tab
- Select the Condition
created then click on to open the Condition Details
window
- In the drop-down list at bottom of the Condition Details window, select Physitrack
- Click on the Open button
- Once you have clicked Open, the Physitrack website will open with the name of the client as shown previously.
Access Physitrack from Medical Notes
The Clinician will be able to access the Physitrack website from the Medical Notes window as follows:
- On the Appointment book, right-mouse click on the appointment created above and select View the Medical Notes to open the Medical Notes window.
- In the drop-down list at the bottom of the Medical Notes window, select Physitrack then click the Open button
-
Once you have clicked Open, the Physitrack website will open with the name of the client as shown previously.