![]()
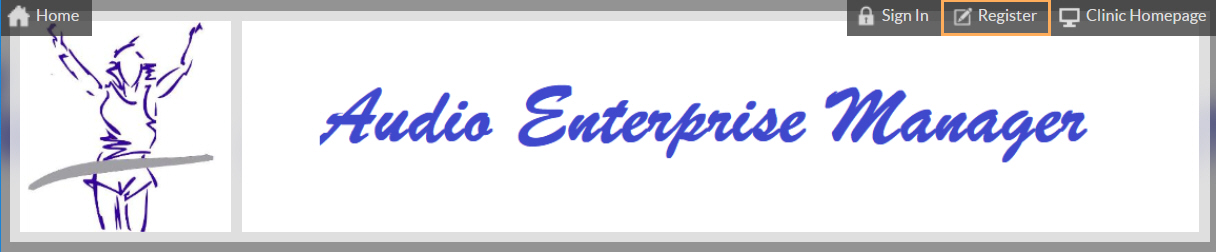
Login and Booking Processes within Appointment Booking Web Portal
Based on the Web Portal configuration, clients will be able to book an appointment.
Refer to the information provided below to learn more about the registration, log in and booking processes within the Appointment Booking Web Portal.
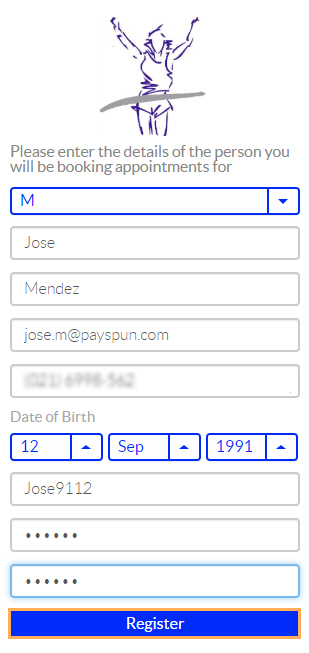
1. Registration
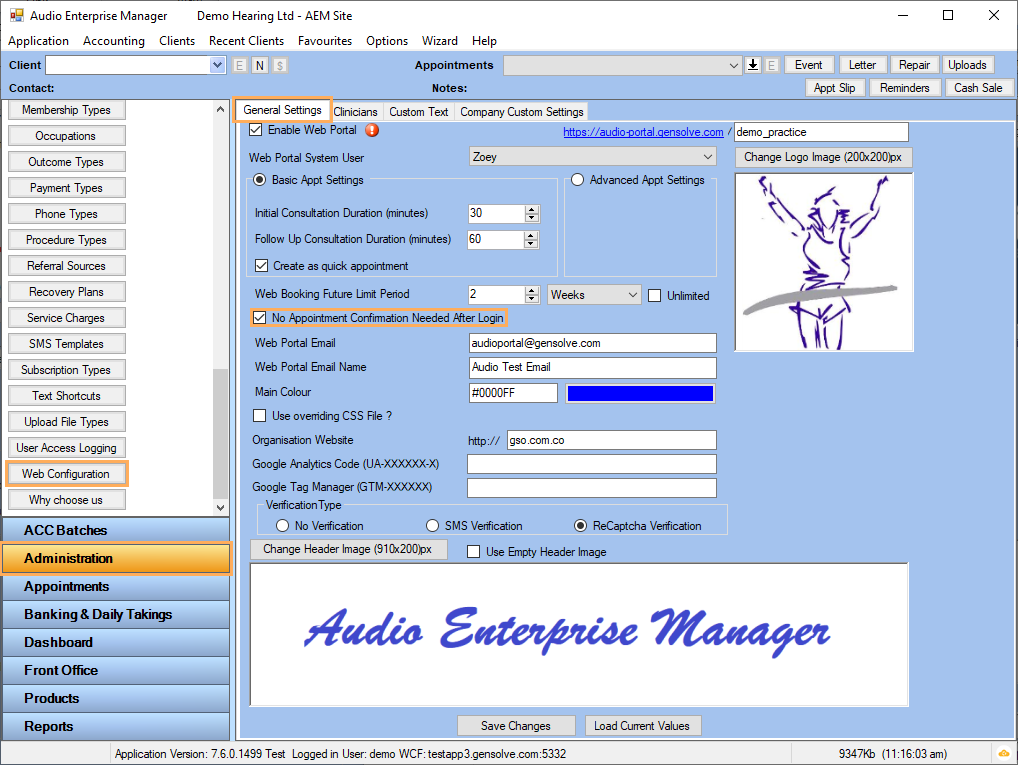
Note: The following process shows when SMS Verification Type has been selected in AEM (Administration >> Web Configuration >> General Settings).
In order to book appointments clients need to register for a Audio Enterprise Manager account as follows:
- Go to the Web Portal.
- At the top right side, click on Register.
- Fill in the form and click Register.
Note: Please make a note of the username and password that you register for future use.
-
Click on Send SMS.
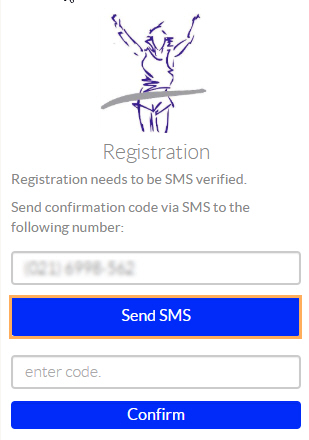
-
Once you have clicked on the Send SMS button that pops up, you will receive the SMS confirmation as the sample below:

-
Enter the Registration Code.
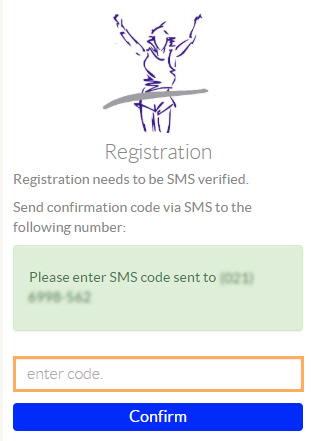
-
Click Confirm to complete the registration process.
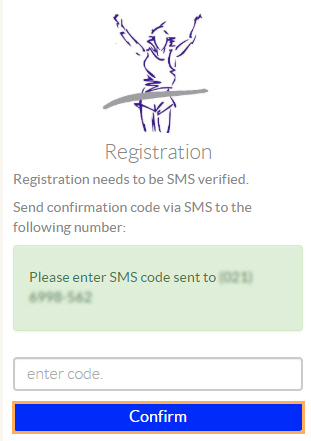
Note: If an invalid SMS code is entered you will not be able to complete the registration process. In this case, you can re-enter the Code, correctly this time, and click Confirm again to re-send the SMS.
2. Log In
Once registered, clients can log in using their Audio Enterprise Manager Accounts as follows:
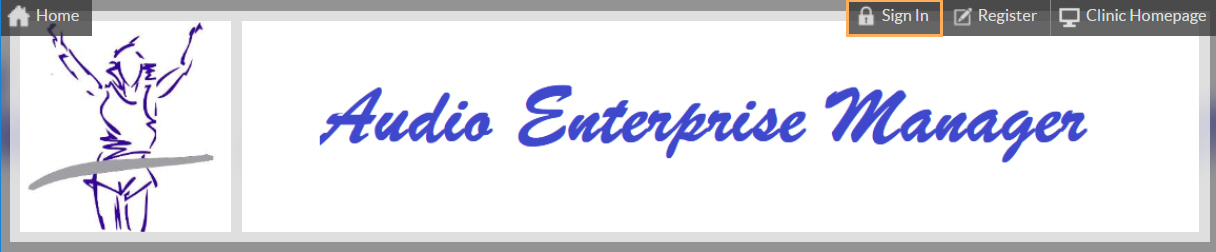
- Go to the Web Portal.
- At the top right side, click on Sign In.
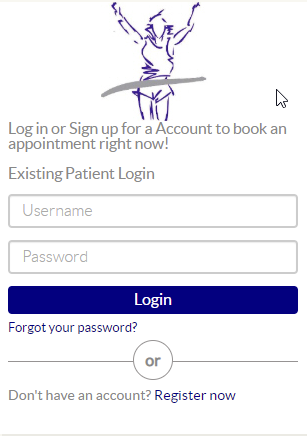
- Under Existing Patient Login, enter your credentials and click Login.
3. Book an Appointment
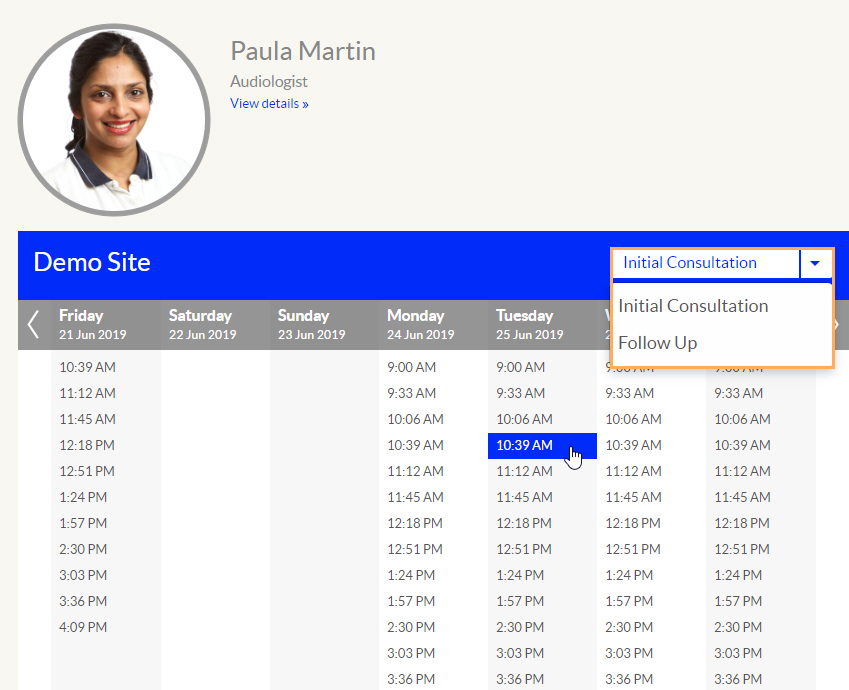
- Filter the search by the specific site, clinician type and/or date you want to book the appointment for.
- Click Find a Practitioner.
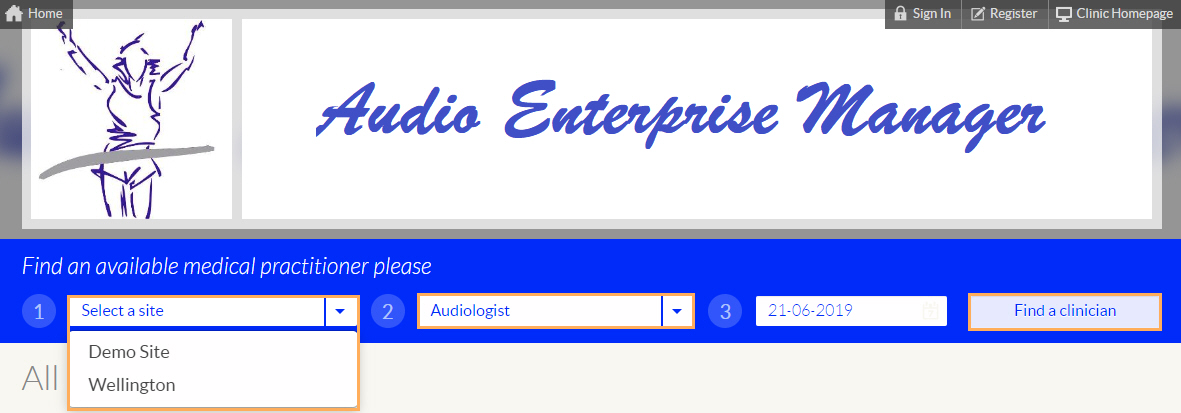
Note: You can also locate a site and view the available practitioners for that specific site.
- Once you have located the practitioner, select the appointment type to use and the specific date/time you want to book the appointment for.
-
Enter Additional Notes if required and click Confirm Booking.
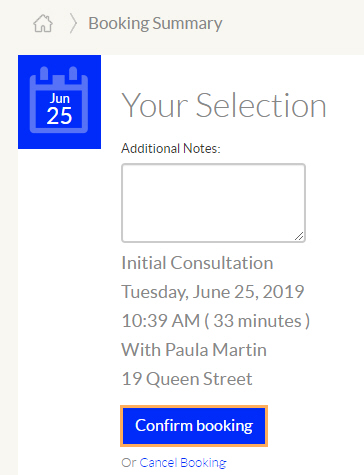
Note: Selecting Confirm Booking may not be the end of the booking process. You may be asked to select another Confirm Booking box as explained below.
-
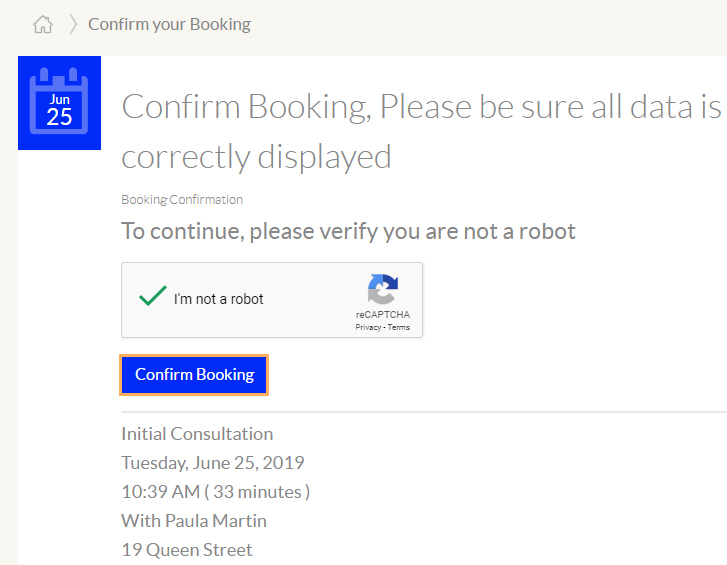
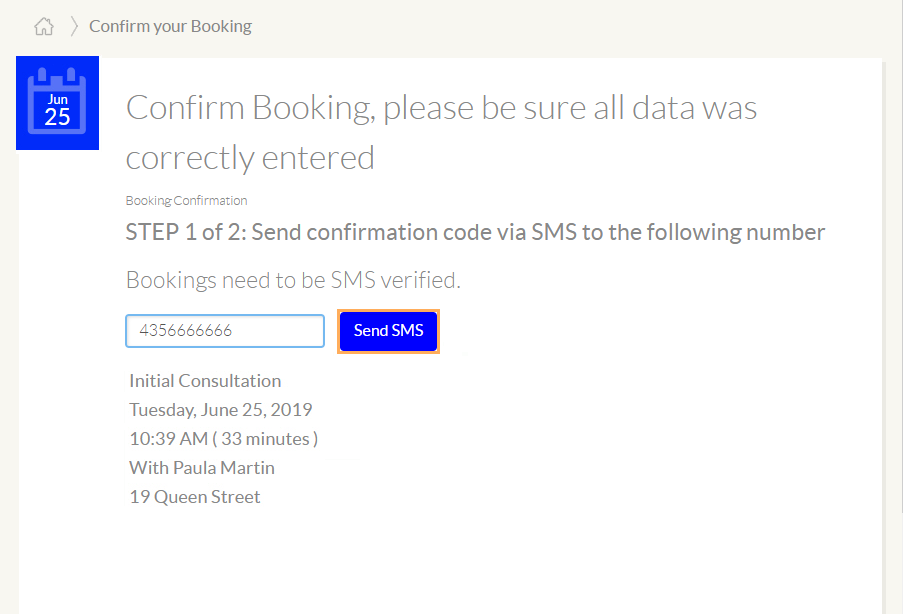
The following processes show what to expect after clicking on Confirm Booking, dependant on which of the three Verification Types have been selected under Administration >> Web Configuration >> General Settings.
5.1. When Verification Type is ReCaptcha Verification when Confirm Booking is selected, clients will tick the box I'm not a robot and select Confirm Booking again.
Note: You might be asked to answer a quick test or tick the checkbox only.
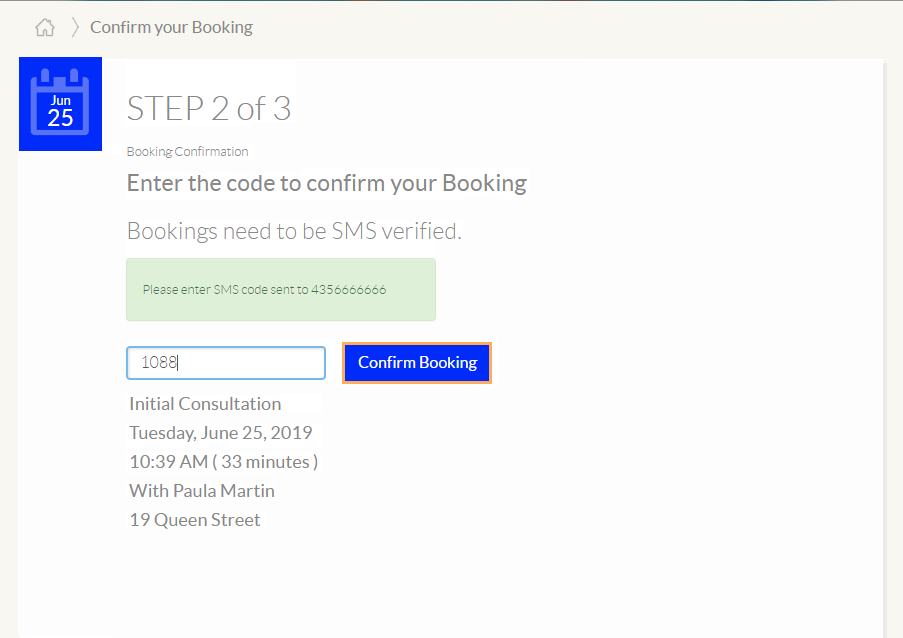
5.2. When Verification Type is SMS Verification, after Confirm Booking and Send SMS is selected, an SMS saying Clinic Name: Your Gensolve appt confirmation code is xxxx, will be sent with the Confirmation Code which then needs to be entered to complete the appointment.
5.3 When Verification Type is No Verification then when Confirm Booking is selected by the client, the booking is created straight away with no further action needed.
5.4. If No Appointment Confirmation Needed After Login is ticked, then the Verification Type does not apply when booking appointments.
- Your appointment has now been successfully booked as shown below:
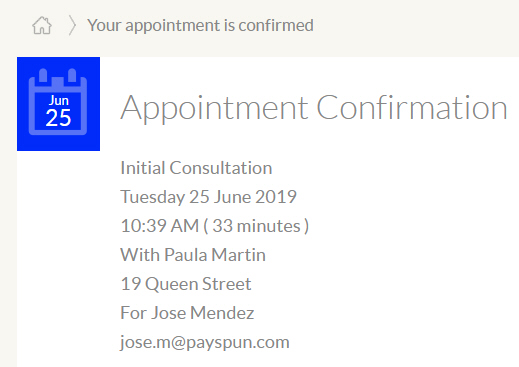
Important Note: If the client has successfully completed and confirmed the booking all the way through, both the client and the clinic will receive an emailed confirmation of the booking.
![]()